Embroidery on Jeans: beautiful flowers to diy your wardrobe
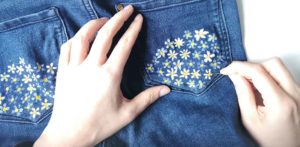
Easy daisies embroidery on jeans This week i am creating a follow up tutorial on how to add embroidery on


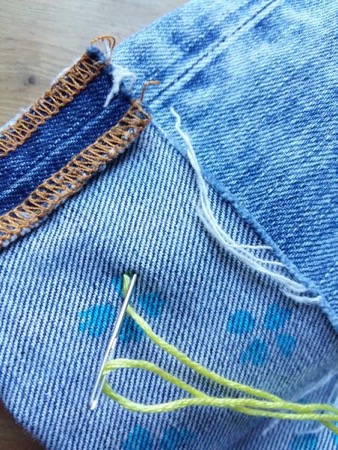
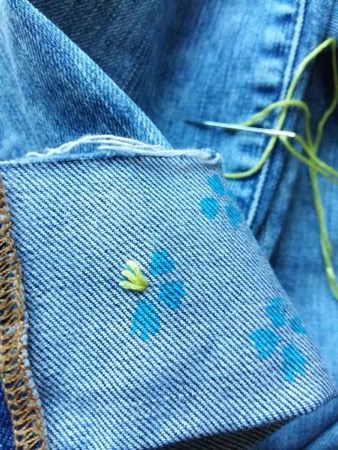
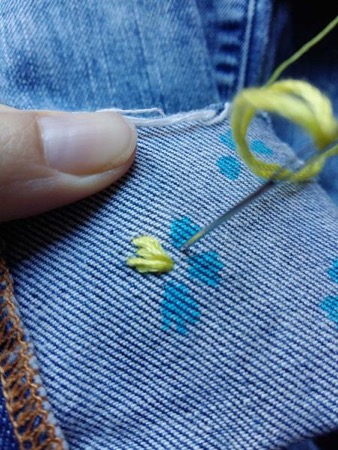
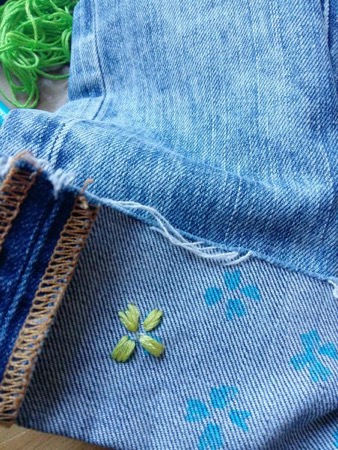


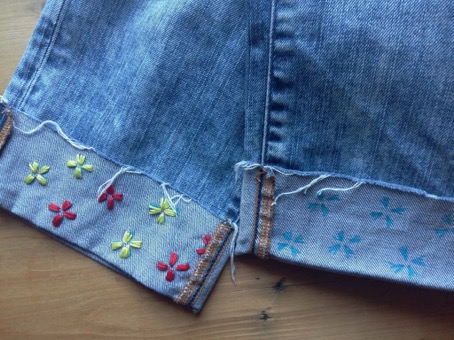

Easy daisies embroidery on jeans This week i am creating a follow up tutorial on how to add embroidery on
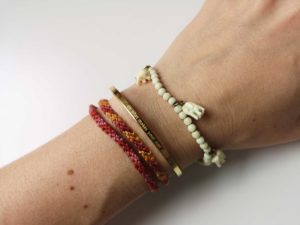
Make this Friendship bracelet with a simple pattern & create elegant designs to match your winter wardrobe The stripe friendship
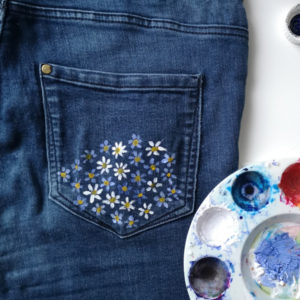
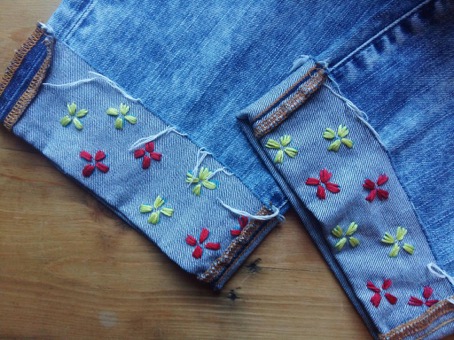
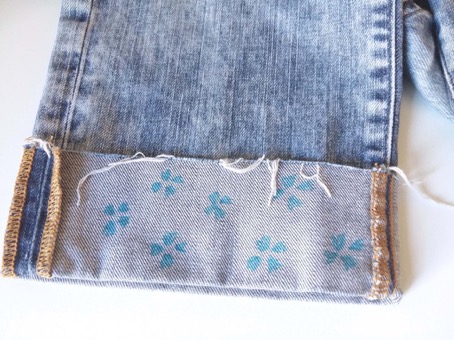
Painting daisies on jeans: the inspiration Last week i posted an introduction to painting on clothing, so this week i
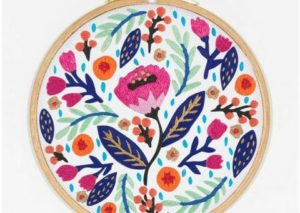
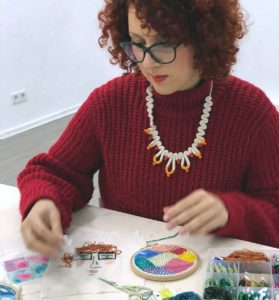
10 Free Hand Embroidery Patterns for Beginners Looking for some Free hand embroidery patterns before investing in a bigger project? Perhaps you are looking for

February free Hand embroidery pattern illustration This month’s hand embroidery pattern is here, it’s free to download so you only need to print and start!
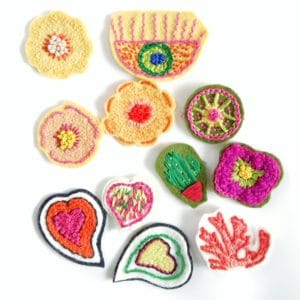
Heart embroidered patch Learn how to make your own hand embroidered heart patch. Just in time for Valentines, or for any time of the year