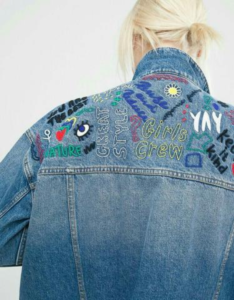
Eight awesome ideas: embroidered, painted and embellished jeans
Eight awesome ideas to customise your-denim jeans Because who doesn’t have a favourite pair of Jeans waiting to be glammed


Eight awesome ideas to customise your-denim jeans Because who doesn’t have a favourite pair of Jeans waiting to be glammed
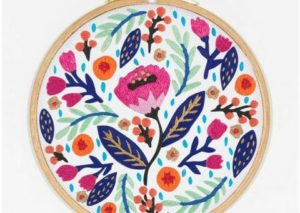
10 Free Hand Embroidery Patterns for Beginners Looking for some Free hand embroidery patterns before investing in a bigger project?
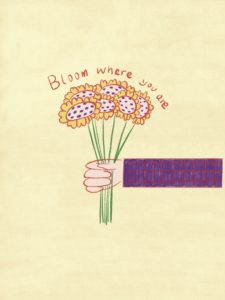
Flower bouquet embroidery pattern I have been wanting to create a new free embroidery pattern for beginners for some time.
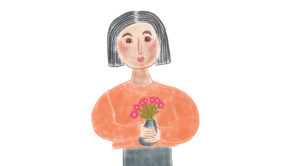
February free Hand embroidery pattern illustration This month’s hand embroidery pattern is here, it’s free to download so you only need to print and start!
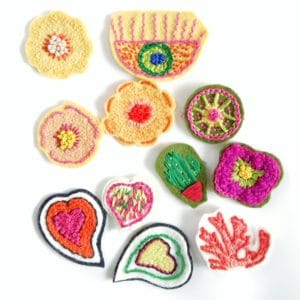
Heart embroidered patch Learn how to make your own hand embroidered heart patch. Just in time for Valentines, or for any time of the year
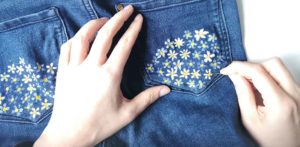
Easy daisies embroidery on jeans This week i am creating a follow up tutorial on how to add embroidery on your jeans. Remember those daisies